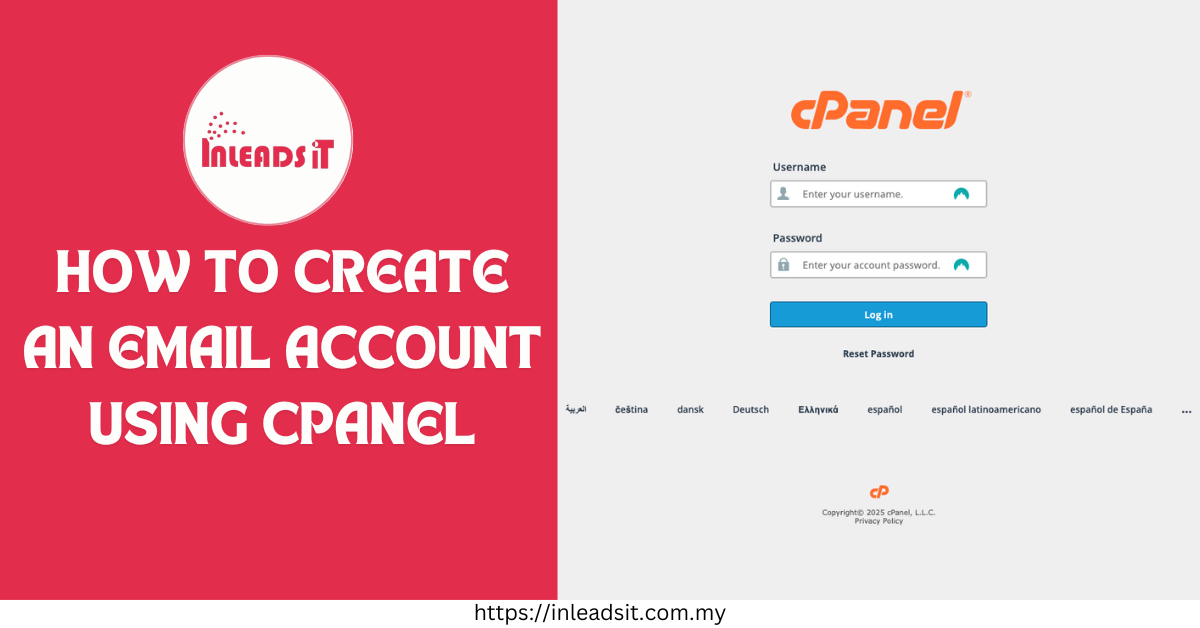
In today’s digital landscape, email accounts are indispensable tools for business operations. They facilitate seamless communication, enable professional interactions, and provide a secure platform for sharing information. Having a personalized email address not only enhances your brand’s credibility but also streamlines your internal and external communications. At Inleads IT, we are committed to simplifying IT solutions for businesses of all sizes. Our comprehensive range of services, including web development, digital marketing, and IT consultancy, is designed to empower businesses with the tools they need to thrive in a competitive market. In this blog post, we will walk you through the step-by-step process of Create an Email Account Using cPanel, a popular web hosting control panel that simplifies website and email management.
Step-by-Step Guide to Create an Email Account Using cPanel
Step 1: Log in to cPanel
The first step in creating an email account using cPanel is logging into your cPanel account. Here’s how you can do it:
- Open your web browser and navigate to your cPanel login URL. This is typically
https://yourdomain.com:2083orhttps://yourdomain.com/cpanel. - Enter your cPanel username and password.
- Click the “Log in” button.

Step 2: Navigate to Email Accounts
Once logged in, you’ll need to locate the Email section in cPanel:
- On the cPanel dashboard, scroll down to the “Email” section.
- Click on “Email Accounts” to proceed to the email management interface.

Step 3: Create a New Email Account
Now, you are ready to create a new email account. Follow these detailed steps:
- In the “Email Accounts” interface, click the “+ Create” button.

- Select the domain for your email account from the dropdown menu.

- Enter the desired username in the provided field. This will be the first part of your email address (e.g.,
username@yourdomain.com).
- Set a secure password for the account. You can either manually enter a password or use the “Generate” button to create a strong password.

- Confirm the password by re-entering it in the designated field.
- Click the “Create” button to finalize the email account setup.
Step 4: Finalize the Creation
After entering the necessary information, finalize the creation of your email account:
- Review the details you have entered to ensure accuracy.
- Click the “Create” button to complete the process.

Step 5: Access Your Email
Once the email account is created, you can access it through webmail. Here’s how:
- Go back to the “Email Accounts” section in cPanel.
- Locate the newly created email account and click on the “Check Email” button.
- This will redirect you to the webmail interface, where you can choose your preferred email client (e.g., Roundcube, Horde).
- Select an email client to access your inbox and start managing your emails.
Step 6: Check Email by Automatic Login via Webmail
To ensure you can check your email and access your inbox easily:
- Click on the “Check Email” button next to your email account in the “Email Accounts” section.

- You will be automatically logged into your chosen webmail client.

- Once inside, you can read, send, and organize your emails directly from the webmail interface.

In Conclusion, Creating an email account using cPanel is a straightforward process that can significantly enhance your business communications. At Inleads IT, we pride ourselves on providing top-notch IT solutions that simplify complex processes and empower businesses to achieve their goals. Whether you need assistance with email management, web development, or digital marketing, our team of experts is here to help.
We encourage you to take advantage of our services to streamline your business operations and enhance your online presence. For more information or assistance with your IT needs, please contact Inleads IT today.


